Tuesday, October 28, 2014

Feline Fun

Here is a quickie post for my kitty loving friends.  Most of you know I am a doggie girl, but I do love my paper kitties as they don't shed!  Here is one of three kitty images that I have recently colored up and thought I would share with you today.
Note that I used the darker colors around the edge of the face and worked my way towards the center of the face using the lighter colors.  This helped build dimension to his little face.  I am calling this kitty Mustang after my dear friend Debbie's kitty.  I also used a bit of shading on the sides of his nose to pop the nose up.   I have to say I don't think I have ever used Copic YG93 but it gave the perfect green tint to match my background paper.  It's always fun to find that perfect match!

To get the fur like strokes I just used the very tip of my Copic pen and "flicked".

Here are the details!
Stamp: Stampendous Feline Fun P242
Copic Colors: Fur: C1, C3, C5, C7, ears: E000, E00, E11, R20, Eyes: YG03, YG63.  I also touched up the iris of his eye using C7 for a dark bold look. The ground is a mixture of YG93, E33 and E30.

Hope you like my  kitty!

Colorful Hugs,
Jennie Lin Black

Monday, October 27, 2014

The Stamp Addict - Class Fun

Today was a great day!  I taught two completely sold out classes at The Stamp Addict in San Diego. Monthly classes available in Distress Ink Watercolor and Copic Coloring.   Be sure to call Jennifer Van Pelt at The Stamp Addict to reserve your spot for future classes (TBA).  Classes do sell out - we had to turn many people away due to overwhelming popularity!  We may need to do an extra Distress Ink class text time to fit everyone in!
Since Stampendous is focusing on Owls this week, I thought it would be fun to give the guests  a "bonus" gift tag featuring Santa Hat Owl RS-M300.  The price of the "bonus project" was that they had to pose in a photo to show off their finished project.  It was fun to see the difference in the images colored with Copics VS Distress Inks and water.  I actually loved the distress ink finished images best as they were quick and easy for all the students to complete!  The next class at The Stamp Addict will be posted soon!  I am having a hard time getting saturdays off during the holiday season - LOL... so we will let you know ASAP.... Follow this blog for details.

A few of the Distress Ink Class members - I am on the floor in brown shirt.

a few of the Copic class guests


Close up - let's all fit our project in the picture!
A few other things we did today!
Copic colored - Country Snowman
Colored with Copics
Distress Ink Watercolor

And several more!  it was super fun - hope you can join us next time

Colorful Hugs,
Jennie Lin Black

Friday, October 17, 2014

Finally! I can share my favorite new stamp set! Stampendous!

Wow!  I have had to keep my mouth shut for MONTHS!  Some of the new Stampendous Stamps are totally AMAZING!  I have designed several of the cards in the catalog and can't wait to share each one of them with you. I thought I would start with my favorite new stamp set. Hummingbirds 5072 (See below) AND the matching DIE! They are sooooooo super cool.  At first I thought they were just a spring stamp set until I played with my fall watercolors. Check out the fall colors - they work great with this set!  
 
Fall card:  I water colored the entire card using my Ranger distress inks.  It was so fun!  I used various browns and oranges (Vintage Photo, Walnut Stain, Marigold, Persimmon, and rusty hinge) for the birds and my favorite two greens are Peeled Paint and Forest Moss.  I used the Tim Holtz brick embossing folder and lightly brushed vintage photo over to soften the bright white color of the paper.  I also added a bit of Stampendous Embossing Enamels to the background for added fun!

Spring: The pink and blue sample is actually in the Stampendous Catalog!  Whew hew for me!  I used my copics to color this one and totally LOVE LOVE LOVE the outcome! 
Pinks: RV55, RV00, RV09, Greens YG01, YG03, YG17, YG63, YG67,Y11, blues  b05, B02, B00, BG02, BG000, V04.  (sorry I had to guess on the blues,  your's does not have to be exactly like mine!).
 
Colorful Hugs,
Jennie Black

Wednesday, October 8, 2014

Witchy Scruffy kitty

I love this scruffy kitty.  It reminds me of my new puppy, as she is the scruffiest little monster ever with her long legs and puppy hair going in all directions!  She just needs a witch hat. Most of you know that I am not a kitty person as the fur just drives me nuts!  However, a paper kitty is perfect for me as they don't shed (except for a bit of glitter). 

You can find Scraggly Cat HERE the item number is CRM314 and the greeting HERE.  It's quick and easy to color.  Here I used Copics.  V14, V12, V01 for the background first so that I didn't bleed into the black kitty causing a mess.  Let the background dry then start the kitty.  Note that I left the center of her face and body lighter than the edges to create a 3 d appearance.  The lighter color tends to look closer to the viewer's eyes than the darker areas.  For the kitty I used C9, C5, C3 and C1 (darker on the outside of face and body working my way lighter as I got to the center of each area.  Eyes are done with YG03, and YG63.  Of course the fun ground is done with Stampendous Color Fragments Trick or Treat FRC08 they come in so many colors - you can find them HERE. 
 and now a picture of the scruffy puppy  Roxie and my beauty queen Love Bug AKA Bugsie.


Monday, October 6, 2014

Witch Shoes??????

Love this stamp by none other than Stampendous.  It's ironic that I colored these two shoes and couldn't decide which one I liked best!  I am easily humored!  LOL. I decided I like the orange shoe best, but the yellow and orange lace best....... so I guess a bit of both.

We went to Las Vegas for a family party.  Since I can't sit still for 4-6 hours while in the car, I colored both ways, so forgive the ooops here and there, let's blame them for the bumps in the aweful freeway leading to Vegas!  I never leave home without my markers and am happy coloring even with the bumps and swerves to avoid the crazy drivers.

Hope you like the finished projects.

Orange version:  Copics - YR09, YR04, YR18, YR16 and brightened up a bit with Y11.  The purple was done with V15, V12, V01.  Ground was done with W1, W3, and a bit of YR04.  I airbrushed the background with W4 when I got home. The heel of the shoe's highlight closed up when I was playing too much.  So I added the highlight back in with a white gel pen.  The highlight on the front of the shoe is much better as I left the area white and never colored it with any marker.  This makes a great comparison to see that leaving it white is much better than having to go back and add it with a gel pen. Flowers are colored using C9 & OR18. Misc papers by Canvas Corp and Prima.  Added a bit of tulle for the fun of it.

Green Version: I didn't have all of my markers with me in the car so I used what I had.  YG67, YG17, YG03, YG01  and Y11 for the green part.  Note that I left both of the highlighted areas white (never colored them with any color).  Black is done with C9, C5, C3 and the fun orange and yellow lace was done using YR09, YR04 and Y11.... I just love how the yellow and oranges blend so well.  Again I spritzed the background using the airbrush and W4 - However, You could easily color it with a very light gray such as W1 or W2.  Note that if you color the background, I highly suggest that you color it first... since I was in the car I didn't want to do that and saved the backgrounds until I returned home where there are not as many bumps.  Paper by Prima and the little bat wings jar is cut out from a printed paper by Canvas Corp.

Hope you enjoy and are inspired to give it a try..... Stamps available at your local stamp/scrap store or you can order them on line here...

Colorful Hugs,
Jennie Lin Black

Tuesday, September 23, 2014

Stampendous Skulls.....

Hello!  Well this week at Stampendous they are sharing loads of projects made with SKULLS.... although this is not my style, I had loads of fun coloring the image and playing with tulle.  I started by coloring my images with my copics.  You can see that these are all quick to color as I didn't color much.  Just a bit of shading with V12 around the edge of the skull and then colored the flower/leaves/eyes with V01, V12, V15, YG03, YG63, I also did the eyes in the amazing background with YG03. I LOVED adding the tulle and then heating it with the heat gun for that crinkled look, ya never know what shape it will be until you are done...... Nothing is finished without some of my favorite Stampendous Chunky White Embossing enamel and glitter!

The tulle is soooo fun to play with.  Just add a more tulle than you think you will need to your card and then heat it up with the heat gun.  Note that it will shrink and parts may fall off.  That's okay because it's always unique... Stamps can be found at your local retailer or here.....
Skull Rose CR300, background Skull Stack R207, and H309 Halloween Wish. All the embossing enamels and glitter can also be found here
Halloween is still a month or so away, but it's time to get those scary cards done!

Jennie

Monday, September 8, 2014

Halloween House Mouse!

It's time to be starting those Halloween projects.  Here is one of my very favorite Halloween cards I made using House Mouse images available through Stampendous! People keep asking me about the bricks.  I colored the bricks using a combination of E30 & E31.  I then shaded around each brick using W1 & W3.  Then I randomly added specks of W1, W3, E31 and the blender.  It was loads of fun.  I wanted the mortar to look a different shade of gray so I used the cool grays C1, C3 and the blender.  For the Pumpkin be sure to put your darkest colors/shades in the valleys and the lighter colors or your highlights on the hills... Pumpkins have lots of hills and valleys. You can get the stamp here
Here is another fun image also by Housemouse.  This little mousie is wearing a carrot costume.. is he darling or what? (stamp available at your local scrapbook store or here) Again I studied my image before I started to color.  I determined where my hills and valleys were.  I added my darkest colors in the valleys and my lightest colors on the top of each hill.  This gave depth and volume to my image.  I hope you will give it a try... and all those yummie embossing enamels by Stampendous are always loads of fun for added texture on your projects (available here).  Thanks for reading my blog, I hope you enjoy the projects!

Monday, September 1, 2014

Copic Coloring Class with Jennie Black October 2014

Join us for a Copic Coloring class at The Stamp Addict on Saturday October 25 or at Collective Journey tba.  Bring your own Copic or similar markers to class.  Note that Jennie will work with each student as a group and individually.  Some students may not finish all the projects, but you can take them home to finish them.  We always have fun and learn new things at each class. Suggested colors:
Gray: w1, w3, w5 or your favorite gray combo
Brown: E30, E33, E35, optional E37 or your favorite brown combo
Green: YG03, YG63, YG67 or G20, G82, G85 or your favorite green combo
Red: R20, R24, R27, R59 or R89
Flesh: E000, E00, E11
Black: C1,  C3, C5, C7 (or your favorite cool gray)
Lavender: V01, V12, V15
Blender Pen


Distress Ink Watercolor Class - with Jennie Black


Join one of these fun and easy Distress Watercolor Classes taught by Jennie Black.  All you need is a pair of scissors and a #3 round paint brush (or similar brush or watercolor brush). Its fun for all levels. Hope to see you there.

The Stamp Addict - San Diego - Sat October 25th
Collective Journey - TBA in October

Tuesday, August 12, 2014

Watercolor & Copic Classes at Collective Journey - Redlands, CA

Hello,

Well here are a few more classes that I will be teaching in September.  It's soooo good to be back in the classroom, but it is taking me a bit of time to get this ball rolling.  I can't wait to see you guys in the classroom again!  Whoot Whoot!

Collective Journey - Redlands, CA
Saturday Sept 20, 10:00 am - 12:30 pm
Bring Copics or other brand of alcohol markers. (bring your whole collection!)
Suggested colors: YELLOWS, BLUES, ORANGES, BROWNS, PURPLES, GRAYS, SKIN TONES, PINKS.  (or Y32, Y35, YR24, E47, R24, R27, R59,  YG01 (or Y11)YG03, YG63, YG67, YR16, YR18, YR12, B000, B00, B02, C1, C3, C5 or W1, W3, W5, V15, Y12, V01,

Copic Coloring class

Distress Ink Watercolor - Saturday Sept 13
10:00 am - 12;30 pm
Bring a #3 round paint brush or watercolor brush & adhesive
all other supplies are provided.


Saturday, August 9, 2014

Tiddly Inks

Hello Everyone!

I have been wanting to be on a design team, but the problem is that I am sooooo super picky on the company I want to represent.  I was super excited to hear that Tiddly Inks is having a Design Team call, as I absolutely LOVE their images. So, I thought I would share a few of my favorite cards I have made using their darling images.  Of course the first up is one of my very favorite images called Anna Belle Flying High, available HERE.
I just love this image because you can customize a card to have as many doggies in the picture as you wish.  Since I have two sweet little doges, I used two dogs to represent my Bugsie and Roxie.  Are they cute or what?

Colored with Copics: R20, R22, R24, YR30, YR21, YR24,  B00, B01, Y11, Y15, Y17, blender pen and the doggies I colored up with C00, C1, C3, C5.  I flicked the grass at the bottom of the page using YG03, and YG63.  Hope you love her and her pups as much as I do,  and give her a try!

Here is another favorite as I am always wanting guy cards and my son is a fix it man.  So without further ado... here is Carpenter Joe available by Tiddly Inks HERE.    I colored him with Copics and didn't put too many embellishments because I was sending it to my son who likes clean and simple cards. Colors used are as follows:  Face: E11, E00, E000 and R20 for the cheeks. Wood, Shoes, Tool Belt and Hair: E30, E33, E35, E37, Overalls: B91, B93, B95, B97, Shirt/tool box: YG01, YG03, YG17,  Hammer C1, C3, Ground E30, E33, W3, W1. and the Blender pen to correct mistakes.
So wish me luck in my venture of trying to become one of the newest Tiddly Ink design team members.

Colorful Hugs, 
Jennie B


Copic Coloring Class at The Stamp Addict

The second class I will be teaching is a Alcohol Marker coloring class.  Any brand of alcohol markers are welcome, suggested colors are listed below.

Day Saturday Sept 6, 2:00 - 4:30 Call The Stamp Addict to reserve your spot.  All images are by Stampendous - if you want one of these awesome stamps you may want to reserve one of those too!

Bring your markers, scissors, and adhesive.  See you there!  All images are by Stampendous!

Copic Colors: R81, R83, R85, W1, W3, W5, YG01, YG63, YG67, E000, E00, E11 
(your colors may vary)  Image item #HMCP10

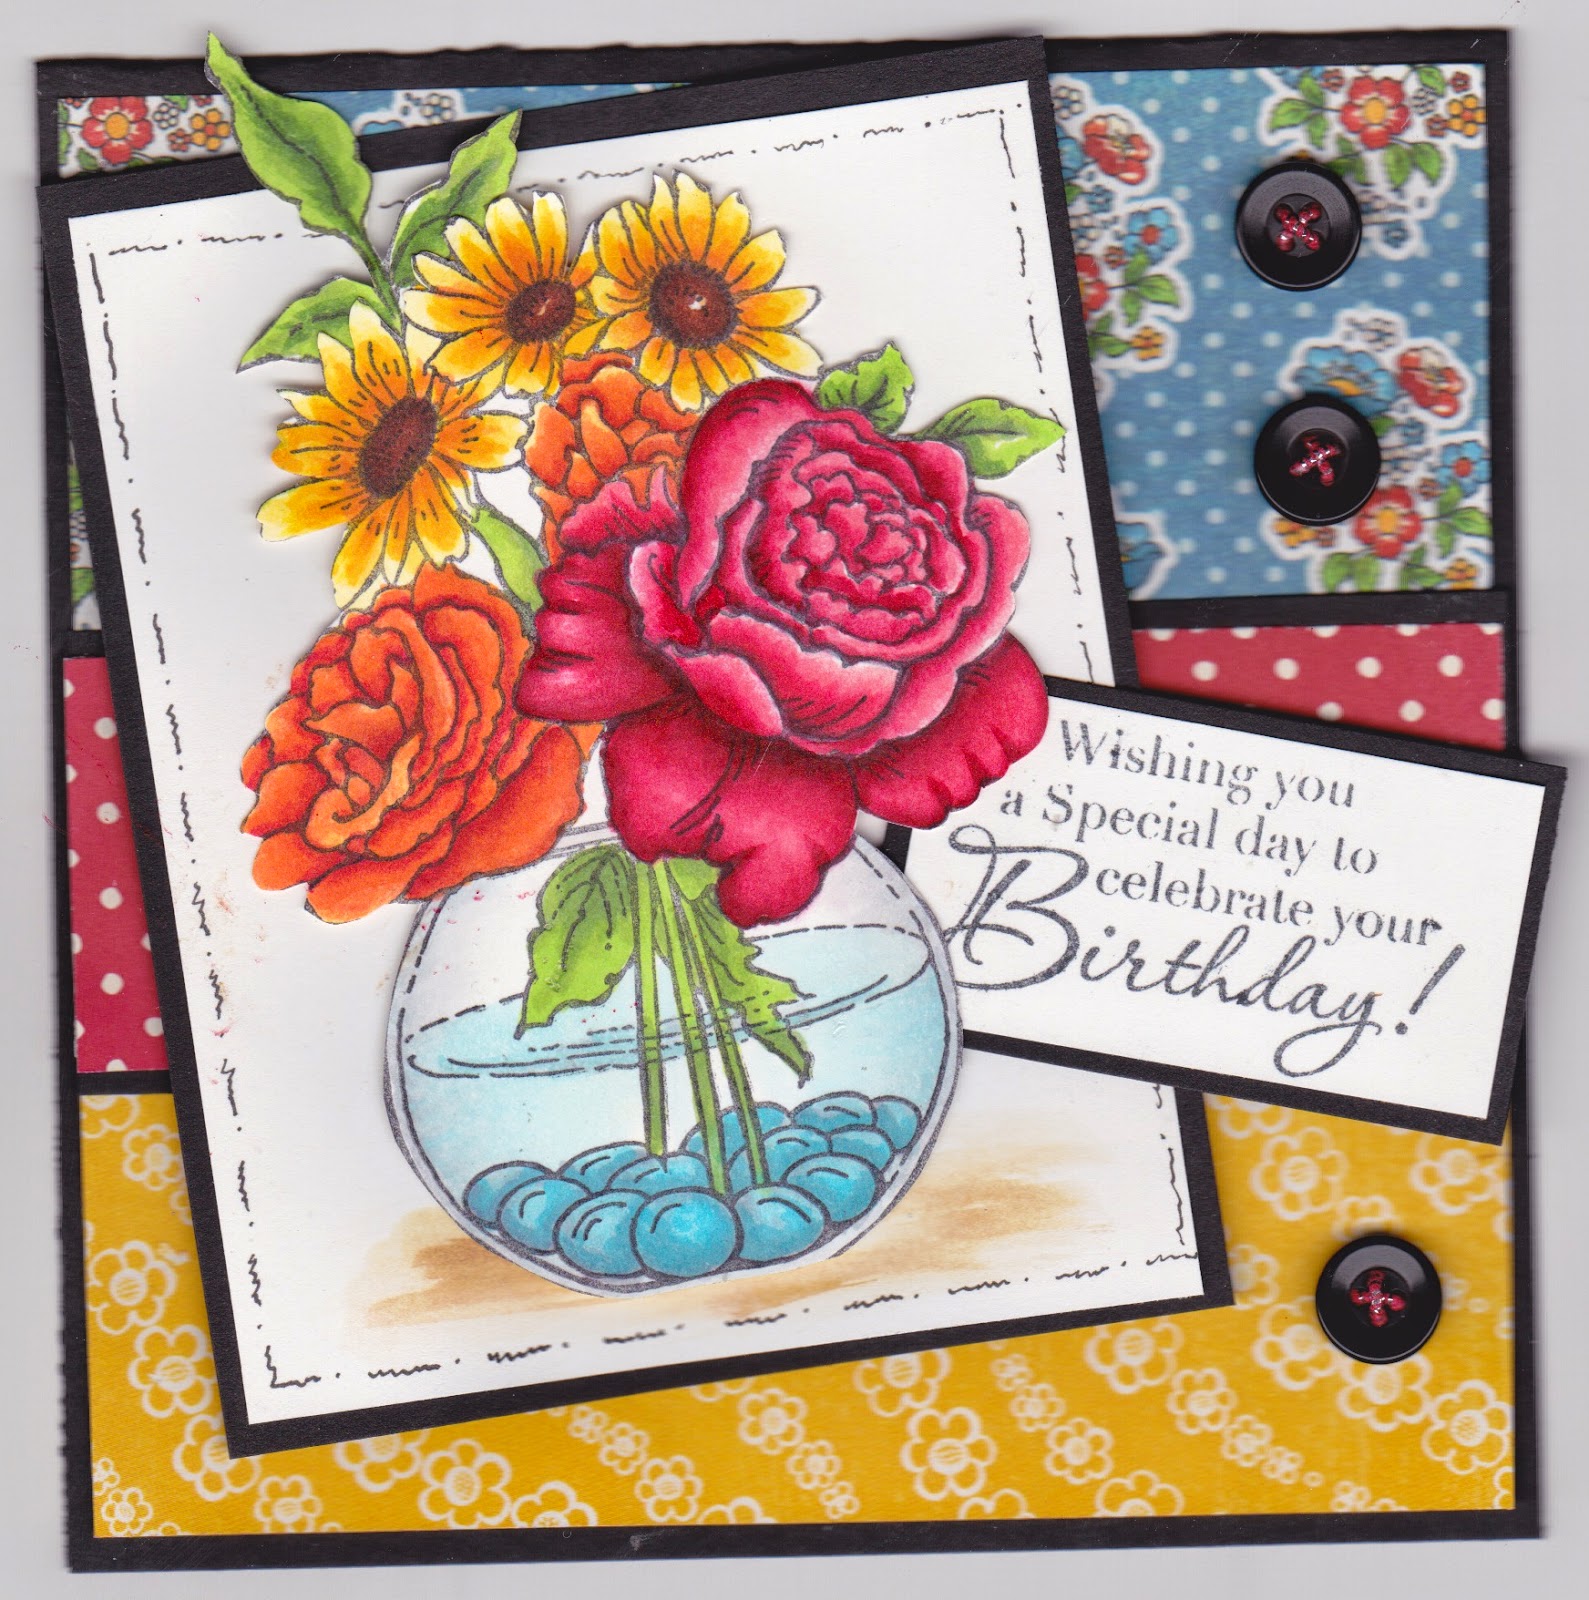
Y32, Y35, Y38 (optional YR24), any dark browns like E47, E79, E33, R22, R24, R29, R59, B00, B02.  Stampendous Image: Bowl Boquet W123

  
Y32, Y35, Y35 optional YR24, and your favorite dark brown and green combo. 

see you there!  whoot whoot!

Colorful Hugs, 
Jennie B

The Stamp Addict - Watercolor Class - San Diego

Hello Peeps! 

I am super happy to say that I am back in the classroom.  I have settled into my new job at Costco and can now arrange my schedule a bit so that I can do what I love to do and that's teach YOU.... Here is one of my four classes that I will be posting within the next week. 
The Stamp Addict will have two classes.  Distress Ink Watercolor is from 10:00 am - 12:30 pm Call The Stamp Addict to reserve your spot - This is a very popular class and will sell out so hurry hurry - Call now.  http://thestampaddict.com/

Copic Coloring Class featuring Stampendous stamps and Distress INKS.
Bring a small round paint brush or watercolor brush, adhesive and scissors - I will supply everything else! I love everyone down in San Diego (as it's one of my very very very favorite cities anywhere!). 
All images will be available at the store and are by Stampendous. (if there is one you know you are going to want be sure to reserve one of those too!

See ya soon,
Colorful Hugs,
Jennie B


Sunday, July 6, 2014

POWER POPPY CHALLENGE (PPFREEDOM)


LOVING... these images.... this week Marcella even has a few free digi's for you on her website where you can also see the other entries for this Power Poppy challenge. 

The challenge was to use colors to represent the country we live in.  Of course I live in the amazing USA..... so I chose the traditional red/white/blue.  I always have to change things up a bit so I did two images.  One I added Yellow and the other I added a light brown.  I just can't get enough of these images!  They are so realistic and not cartoonie... if that's a word!  LOL.....  Both images are available in digi or clear stamps.  and the Let Freedom Ring saying is one of the free digi's she is offering on her site.


Peonies Copic Colors:
B21, B23, B26, B28
R24, R29, R59
YG03, YG63, YG67
E51, E53,

Roses/vase
B91, B93, B95,
Y11, Y15, Y19, Y38
YG03, YG63, YG67
base: E00, W4, W2, blender

Friday, July 4, 2014

Happy Fourth of July! Stampendous Blog Candy!


My son's favorite holiday is Fourth of July!   So, I am always looking for cool stamps with fireworks or flags.  This House Mouse-Designs image is perfect for this year's celebration.

If you look at this flag closely, you will see that it has shape. Think of each shape as hills/valleys or a mountain.  The sides (valleys) of the flag are further away from the light source, the center (hill) of the flag is closer to the light source.  Therefore, I added my shading/darker colors in the valley areas, and the lighter/highlight colors on top of the hill.  I did the same with the faces, the center of their face is the "hill" and further away on their tiny faces would be the valleys. 

Colors Used:
Copic:
Red R58, R29, R24, R22, R20
Blue B21, B24, B26
skin: E00, E000, E11, R20, R21
brown: E33, E35, E30
Gray: W1, W3, W5

Now for the Blog Candy - This beautiful stamp is a wonderful for any season, or celebration.  I will mail this stamp to one random winner.  Just leave a comment telling me your favorite thing about Fourth of July.  Anyone can play, I will pay postage anywhere within the USA.  Winner will be announced Thursday July 10.  So tell your friends to drop in.  Here is a picture of the prize and a sample of what I did with it!