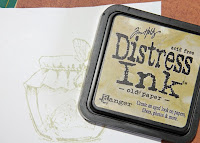
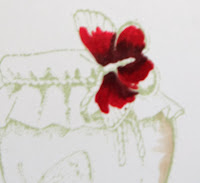
 Finally, I had time to sit down and work on this beautiful image that Richard Garay gave me eons ago. I just love this set. I decided to stamp it with very pale ink and give it a semi borderless look rather than stamped in black then colored. I also used a pale ink to stamp a coordinating stamp from the set onto the colored background paper for a perfect coordinated look.
Step 1 - Stamp Image
Stamp image with a pale colored ink (Recommend Distress or Momento)
 Step 2 - Background Paper
Stamp Background pale colored background paper with similar colored ink pad. here I used a pale brown.
Step 3 - Butterfly
Begin coloring the Butterfly with the darkest color closest to the center of the butterfly. Also be sure to add a dark line on the back layer of each wing. Copic R59 or Spectrum Noir DR7
 Gradually work your way towards the edge of each wing with lighter colors. Copic: R29, R24, R22 or R20 Spectrum Noir DR5, CR8 and possible a bit of CR3 if room allows.
 Step 4 - Jar
Color Glass focusing the darkest colors on the outer side and bottom of glass jar. I used a variety of colors.
Copic: N2, E42, B000, YR30. & E30
Spectrum Noir: IG1, TN1, FS3
Step 5- Fabric Cover
I started by adding my darkest color in the deep valleys of the fabric folds working my way towards the hills with my lighter colors.
Copic: E37, E35, E33, E30, YR30
Spectrum Noir: TN6, TN4, TN3, TN2, TN1
I hope you enjoyed my tutorial. If you would like to purchase this stamp set you can find it from your local Fun Stampers Journey Coach.
Colorful Hugs,
Jennie


wow stunning work.
ReplyDeleteCarol x